


Applying CopperCoat: What a Job!
Finally it is done. But what a job!
The goal was to coat the bottom of Life Part 2 with CopperCoat. The reason? So we don’t have to keep finding boatyards to haulout the boat every couple of years.
So what is it? CopperCoat is an epoxy resin that is loaded with pure copper powder. Copper is toxic to marine life, and thus prevents the growth of flora and fauna on the bottom of the boat. It is the reason that the old square rigged ships of Nelson’s day had pure copper sheets nailed to their bottoms. In this it does the same job as any antifouling paint. But the difference is that normal anti-fouling wears off over the space of one to two years and then needs to be reapplied. And all that ‘wearing off’ goes straight into the ocean – not exactly the most environmentally friendly thing to do.
CopperCoat, on the other hand, is a hard epoxy resin that lasts at least a decade. In the boatyard we spoke to one worker who’s boat’s CopperCoat was still effective after 17 years. Over the years we have been ‘feeling bottoms’ whenever we came across a yacht with a CopperCoat bottom and, sure enough, it does seem to work. So we decided it was time to take the plunge and make it happen.
The original goal had been to haulout in Crotone, Italy, but when that didn’t work out and we ended up in Cariati, we had to go to plan B. While in Italy we ordered all the supplies we needed direct from CopperCoat and took them with us while we hunted around for the best place to do the job. And so we ended up here in Portimao where they speak English (most of the workers are actually Brits), which makes the whole process so much easier.
Putting it on is not a small undertaking. In fact, it is a Big Job. Here is what is involved:
- Remove ALL the old antifouling (that’s 15 years worth of buildup), right down to the original gelcoat.
- Prepare the gelcoat surface so that it is smooth and free of blemishes.
- Apply a barrier coat of epoxy primer that protects the boat from osmosis. Probably not strictly necessary, since there was no evidence of osmosis on our hull, but not a huge job since we are here.
- Apply 5 coats of CopperCoat ALL IN ONE DAY.
And, while we were at it, we would also redo our ‘go fast stripes’ since they were in bad shape, the workers in Tunisia having done a bad job of applying them then.
So here we go.
Stripping off the Old Antifouling.
How to remove the old antifouling? On the recommendation of CopperCoat themselves we decided to slurry blast the hull. Better would have been to find someone who did Soda blasting, but no one seems to do that. The slurry blasting was done by Bluewater Algarve, and took a couple of days.
This turned out to be a bad idea. The idea of low pressure slurry blasting is that it is supposed to not damage the gelcoat. In fact, it left our full badly pitted, whith therefore required a lot of remedial attention to make it good again. It also covered our boat with a lot of dirt which takes a lot of cleaning. We would have been better off to just scrape and sand the old paint off. A big job, true, but probably easier in the long run.
Preparing the hull
To get the hull into good shape again we got ourselves 4 litres of epoxy filler. With this we went over the whole hull filling in holes and skimming over the pitting left by the slurry blasting.

The grey blotches are where we filled in holes with epoxy filler. We also skimmed over the whole hull to flll in the rough pitting.
We then had to sand it all down. This took us three days.
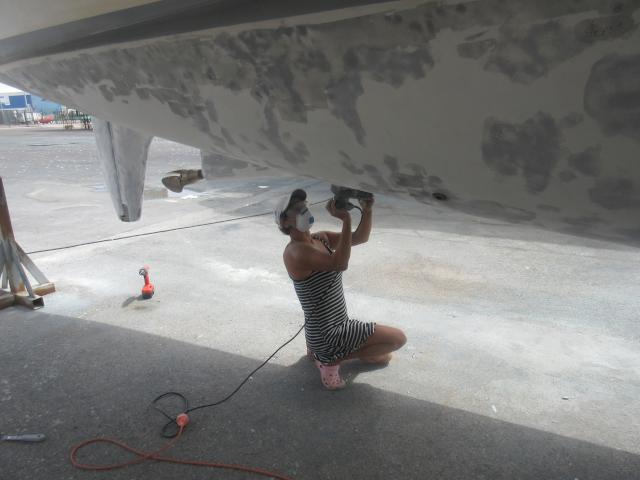
Both Ceu and I took turns on the sanding. She was a real star!
Let me tell you, this is a LOT of work. Especially when the socket on the end of the extension cord did not seem to connect properly. In the end we just but the plug and socket off and wire the sander directly to the extension cord.
Applying the Barrier Coat
CopperCoat had supplied us with 5 litres of 3M Scotchkote epoxy primer. This is a very tough primer. Which is a good thing for protecting the boat. But a bad thing for sanding down. It is thick to apply – especially since we did not know we were supposed to thin it. We rolled it on, leaving an orange peel effect. The only thing is that CopperCoat supplied us with foam rollers – which dissolved in the epoxy paint, resulting in bits coming off onto the boat.
First coat of epoxy primer
It looked nice. But it is very hard to sand down – much harder, in fact, than the epoxy filler.
Applying the CopperCoat
CopperCoat comes in three packs – the epoxy resin (water based), the hardener, and the copper powder. These all get mixed together, and then applied by roller. But it all has to be done in one day so that each coat melds chemically with the previous coat, resulting in one thick layer. According to the instructions, one normally mixes up one kit at a time – one pot of resin with one bottle of hardener and one bag of copper.

18 packs of CopperCoat – 9 for each hull
From our experience with the primer, we figured on about an hour to do one coat on one hull, so that should give us plenty of time to do it all in one day. We did one hull at a time. Having realised that the foam rollers fell apart, we bought some short-haired rollers which we hoped would be better.
We got up at first light and by 6:30am were at work sanding down the primer, which we had applied the evening before, ready for the CopperCoat. By about 10:30am we were ready for the real stuff.
The day was hot and sunny. The port side of the hull was in direct sun, making its surface temperature at least 40 deg C. The video of how to apply the CopperCoat makes it look very easy – just roll it one, and when you have done the hull it is time to just continue right around and do it again.
It turned out to be far from that.
We would load up the roller and apply it to the hull. Then we use the roller to spread it around and make it even. The problem was, the hull was so hot, that even as we spread it around, it was already drying. So while we were trying to spread it around, it would just pull off what we had just laid down. The result was a very patchy covering with thick areas, where we had applied the loaded roller, and bare areas where we had tried to spread it around. Also it was thickening in the pot while we were rolling it on.
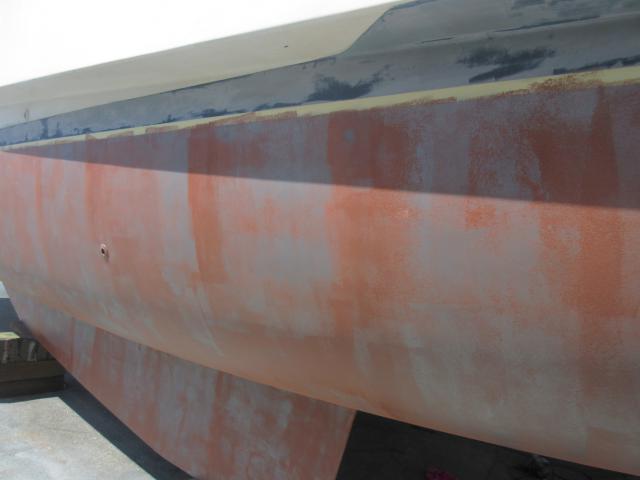
First coat, with many bare patches. Thin (30%) coverage is normal on the first coat, but some areas had almost none
We decided then to make up half a load instead of a full load each time, but even then it was getting thick before we were through with it.

Once mixed, the CopperCoat, according to Ceu, looked like chocolate mouse. But I think she was just getting delirious from working so long in the heat!
On the next lap it was even worse. Some ares would cover fine, but in others the already-drying layer that we were trying to spread around would pull off the previous layer, resulting in bare patches again.
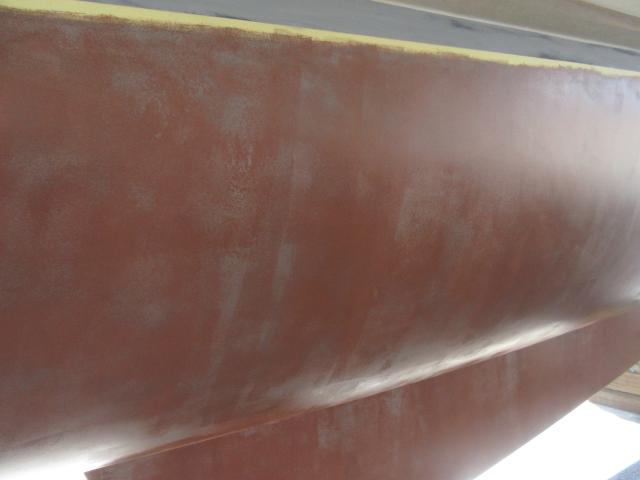
Second coat, but still some areas were just not getting covered. The other side of the hull, which was in the direct sun, was much, much worse.
We called CopperCoat who said to leave it a bit longer to harden before doing the next coat, and also to try using a thinner. So we tried that – and had the same problem.
By this time we were getting very frustrated with it, and were wondering how we were going to get it all covered properly.
At that point, Michel, who runs one of the boat-repair business in the yard had some advice for us:
1) wait even longer for the current coats to harden properly. So we stopped and had lunch.
2) use a 10cm (4 inch) roller instead of the longer rollers. This would double the time it took to do each coat, but did make it easier to control how much was going on with each roller load.
After lunch we went at it again. The previous layers were still quite tacky (impossible, according to CopperCoat, and puzzling according to Michel). But with the smaller rollers it was much easier to spread the load around quickly before it started to thicken on the hot hull.
With this technique we had greater success. Finally the CopperCoat was sticking and staying where it was put. But at 2 hours per coat it was 10pm before we were finally finished. We were applying the final coat in the dark with our headlamps.
But it was done.
The Second Hull
With our now vast experience, we wondered if the second hull would turn out better – or if we would now be so tired of working on it that it would be worse. I think, in the end, it was a bit of both.

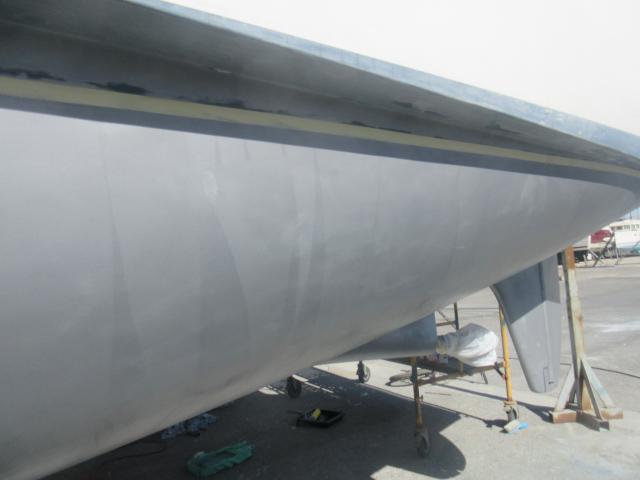
Second hull, primed and ready for the CopperCoat
It was the same process. Finish filling and sanding. Then the primer. Then the CopperCoat. This time we used small rollers and thinner. We started early. And we were done by 7pm. Another 12 hour work day.

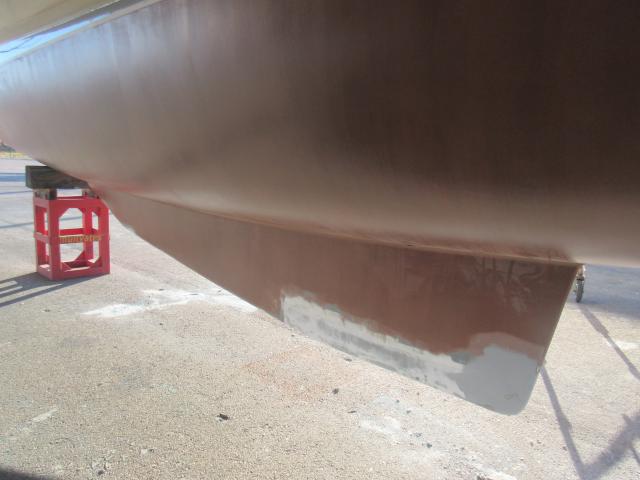
Both hulls done. Keels still need doing, though. Once in the water the red of pure elemental copper will gradually change to the green of various copper compounds. This is a normal process and does not affect its effectiveness.
We went to the local Girasol restaurant for an excellent Prato do Dia – soup, enormous mixed grill, beer, and a huge piece of cake for 7.50 euros! And then a good sleep.
The next day it threatened to rain. The forecast never said anything about that! CopperCoat is water based, and at 20 deg it takes 4 days to fully cure. It is way warmer here so cures faster, but still we didn’t want water running all over it just yet! Arghh! What do we do? It’s weekend. There is no one around. We have no tarps or plastic. Frantically we rush around to find a solution:
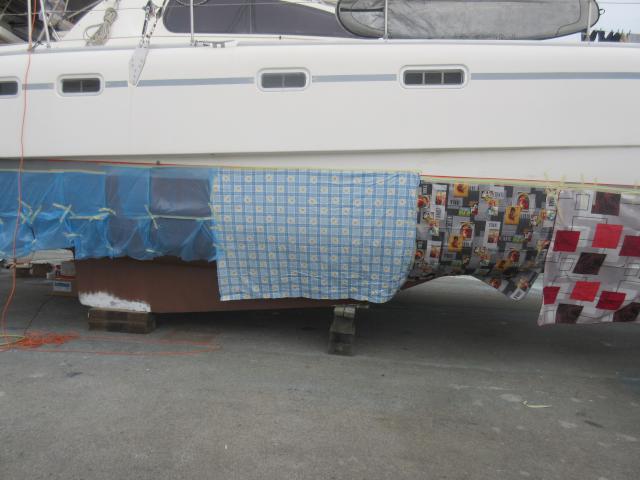
How to keep the rain off the new CopperCoat? How about using our waterproof tablecloths that we just bought?
Fortunately, it only spit at us a little, and no water got on the boat at all. Phew!
But no rest for the virtuous! There were still some more jobs to do: sanding, priming and sanding again for the ‘go fast stripes’, and getting the keel fixed and CopperCoated. To do that, we had to get the Travelift to re-position the supports so that the keel had full access.
The starboard keel needed some repair (for the third time in the same place). Let’s hope it is done properly this time.
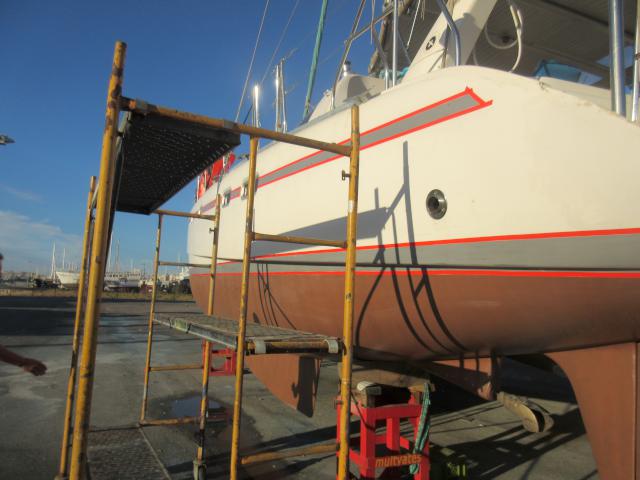
Sanding and taping the stripes

All ready for spraying
We also had Michel do the spray painting on the stripes so that they are super smooth.

Michel’s working spraying the stripes. The last job on the list!
And so, finally, Life Part 2 is ready for the water and, we hope, won’t have to be pulled out again for many years!